Next I airbrush a little more around the edges and give the lips some color. I made added some shadows beneath the hair and too. I used the watercolor brush for them.

Next I airbrush a little more around the edges and give the lips some color. I made added some shadows beneath the hair and too. I used the watercolor brush for them.
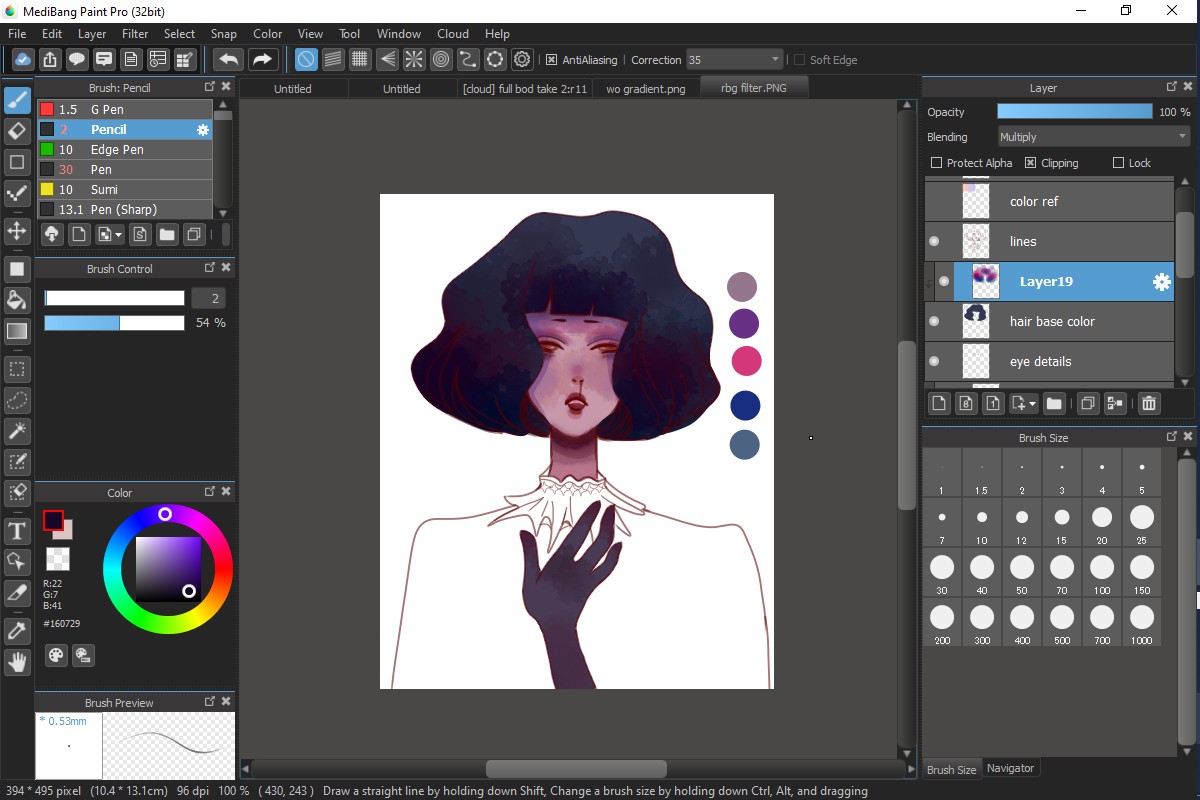
Focusing on the skin, I clip a layer above my skin base color layer and set it to multiply. Starting at the top, I airbrush my darkest gradient (a purple-ish color), to my lightest (a yellow color). You can see here I already started on the eyes, I put my base colors for the eyes then got caught up painting one, which was a really bad idea lol.
Now for the base colors! Nothing too special here, I just used the pen + bucket tool to make sure I filled it all in. Above, you can see my color palette. It's useful to have your colors predetermined so that you aren't scrambling to find colors that work well together late into the drawing.
Then, I moved on to the line art. Some people like making another sketch to refine the details a bit, but I like jumping straight into the line art. You can see that I didn't draw the eyeballs, which is because I'm going to paint them later. For stuff I'll paint later/don't require line art for I left blank. I used the rough pencil brush for this.
New process/tutorial(?) thing!
For this drawing I was inspired by the "galaxy's cutest" theme. Though it didn't really turn out super cute haha.
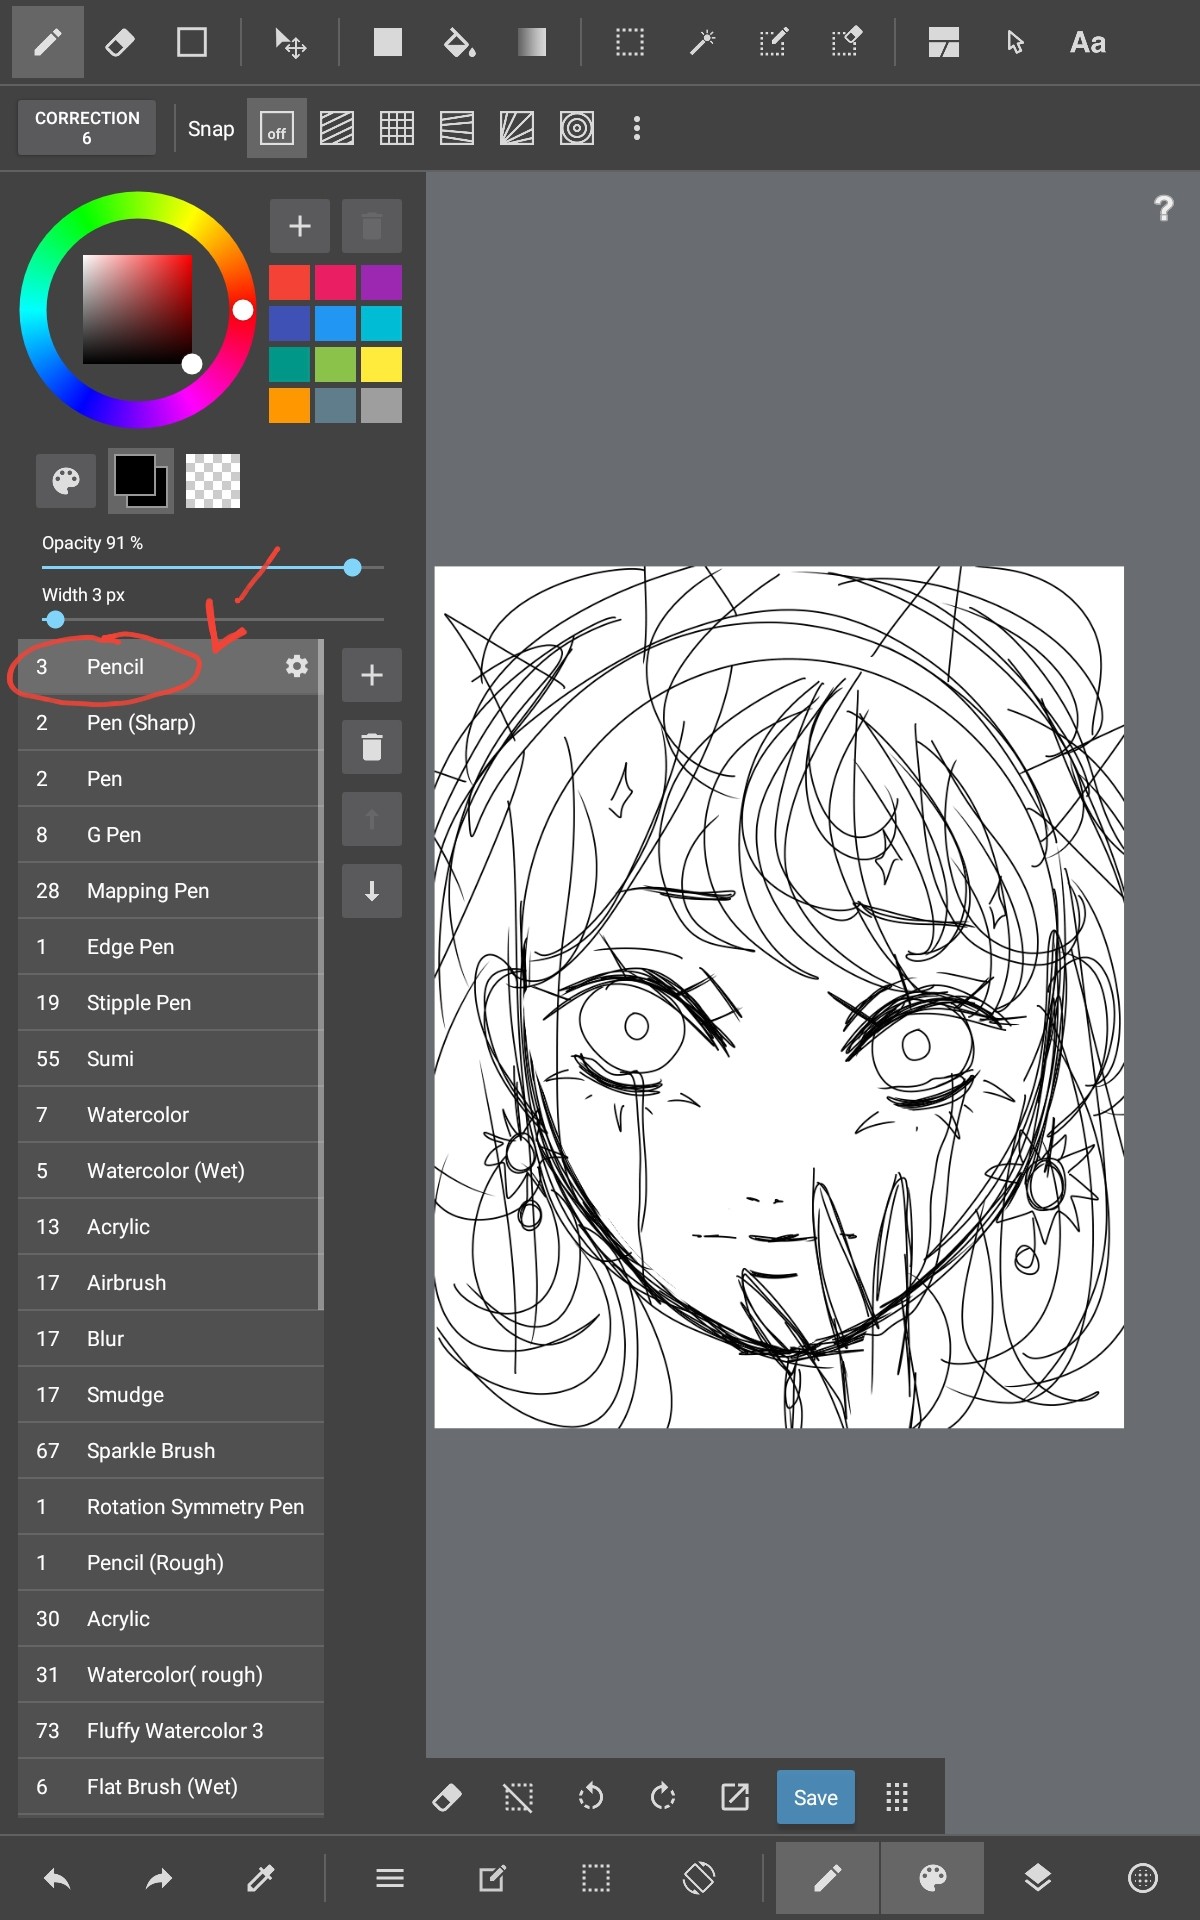
First thing I did was make a very rough sketch with the pencil brush, the goal of this sketch is just to get your idea down. As you can see my sketch is incredibly messy :>
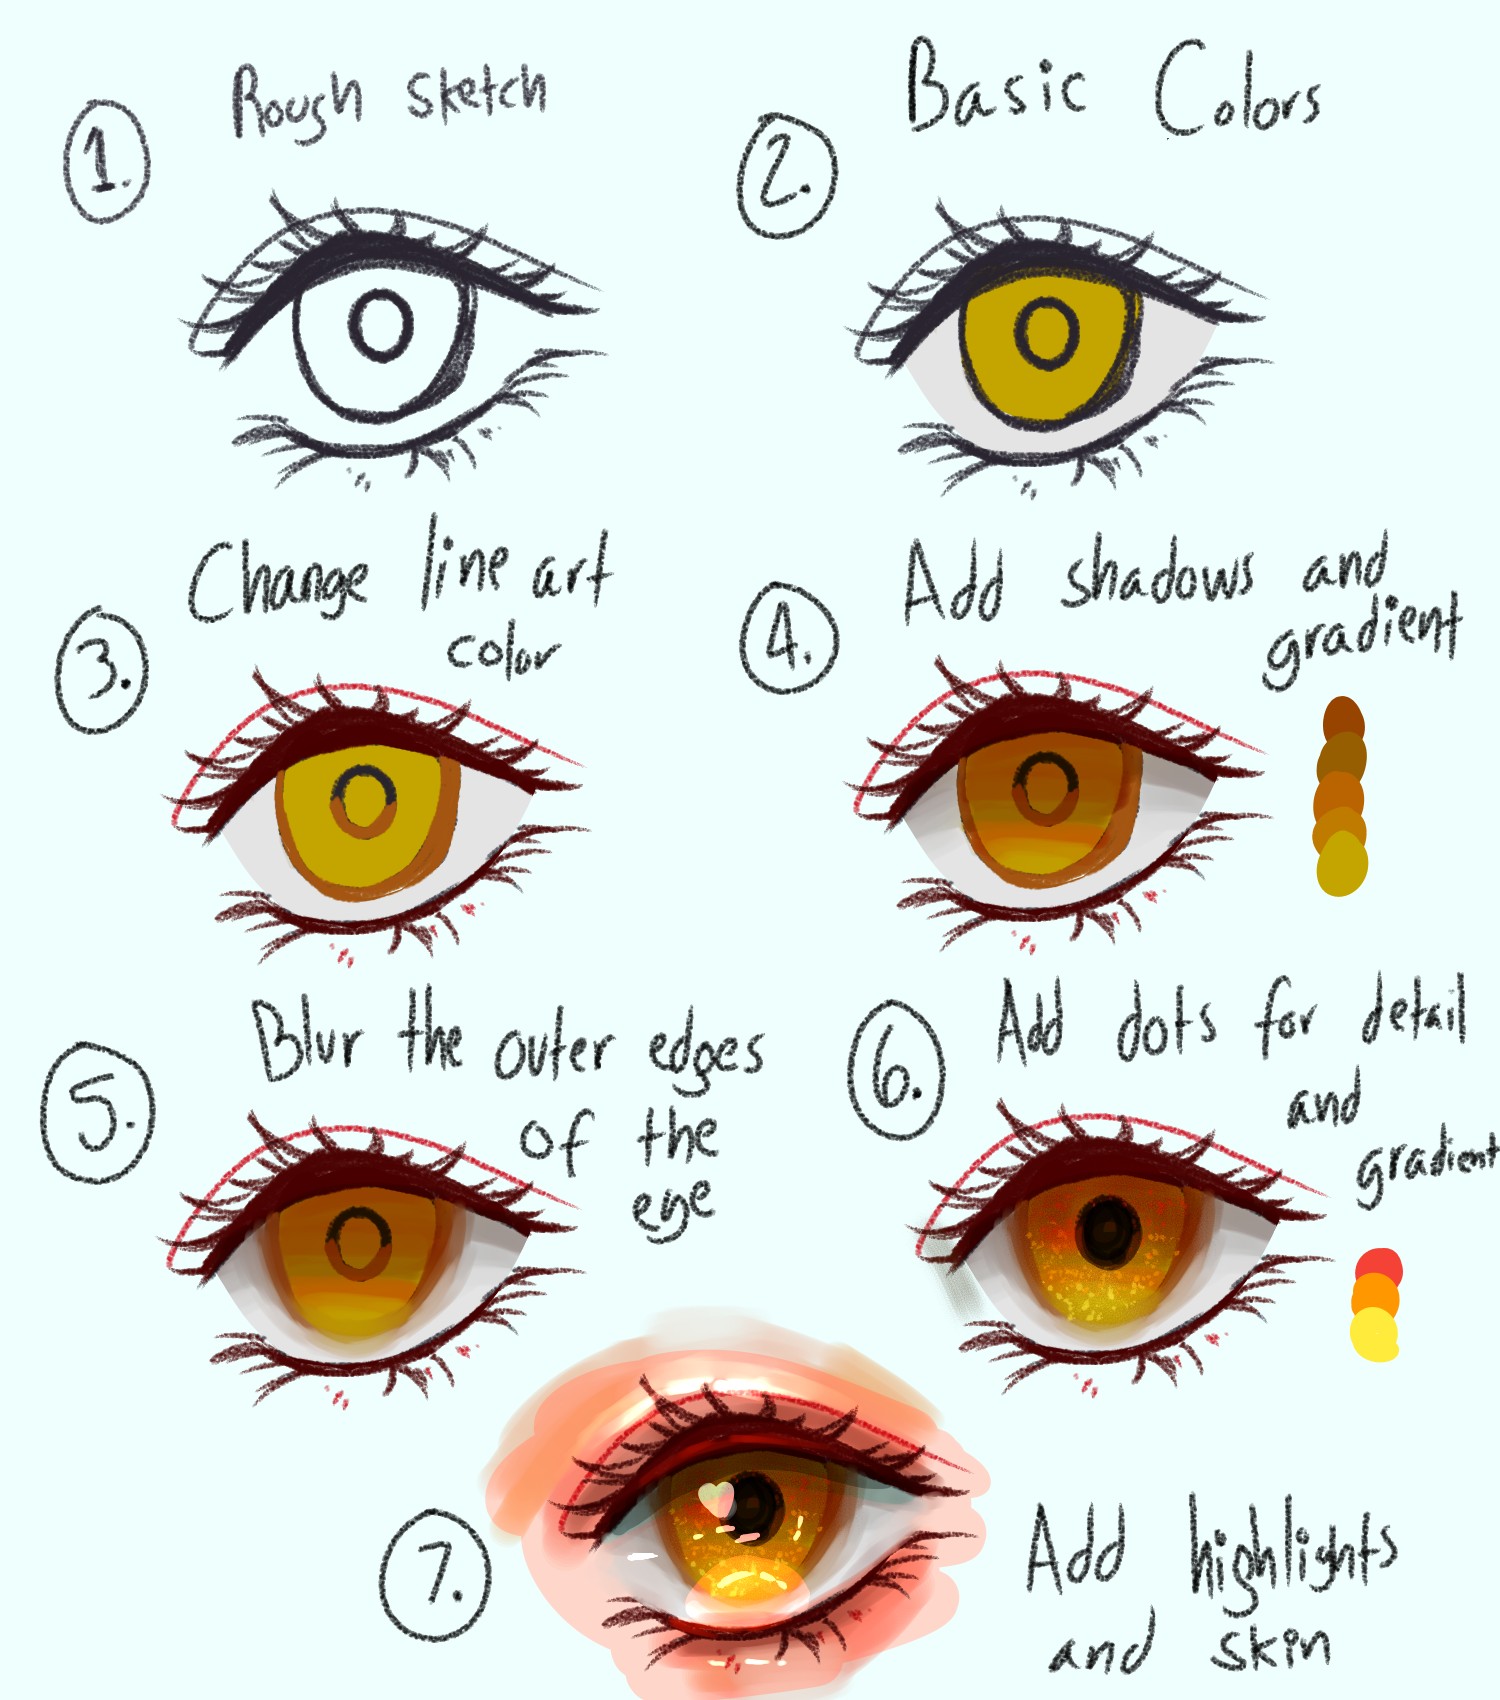
Eye tutorial!!
1. Draw your sketch. This part is fairly easy.
2. Fill in your base colors.
3. Change your line art color. To do this, I selected "Alpha lock" on my sketch layer and colored.
4. Add a gradient and mix the colors. I used the wet watercolor brush to blend the colors.
5. Blur the edge of the eye. Again, for this I used the watercolor brush.
6. Add a few tiny colorful dots around the eye. I used the splatter and stipple pen for this.
7. Add highlights. To do this, make a new layer above your coloring layers and set the blending mode to add. I used the pencil brush (set at 50% opacity) and made a large bubble at the bottom of the eye, then make some tinier dots around the pupil. I also painted some skin around the eye.
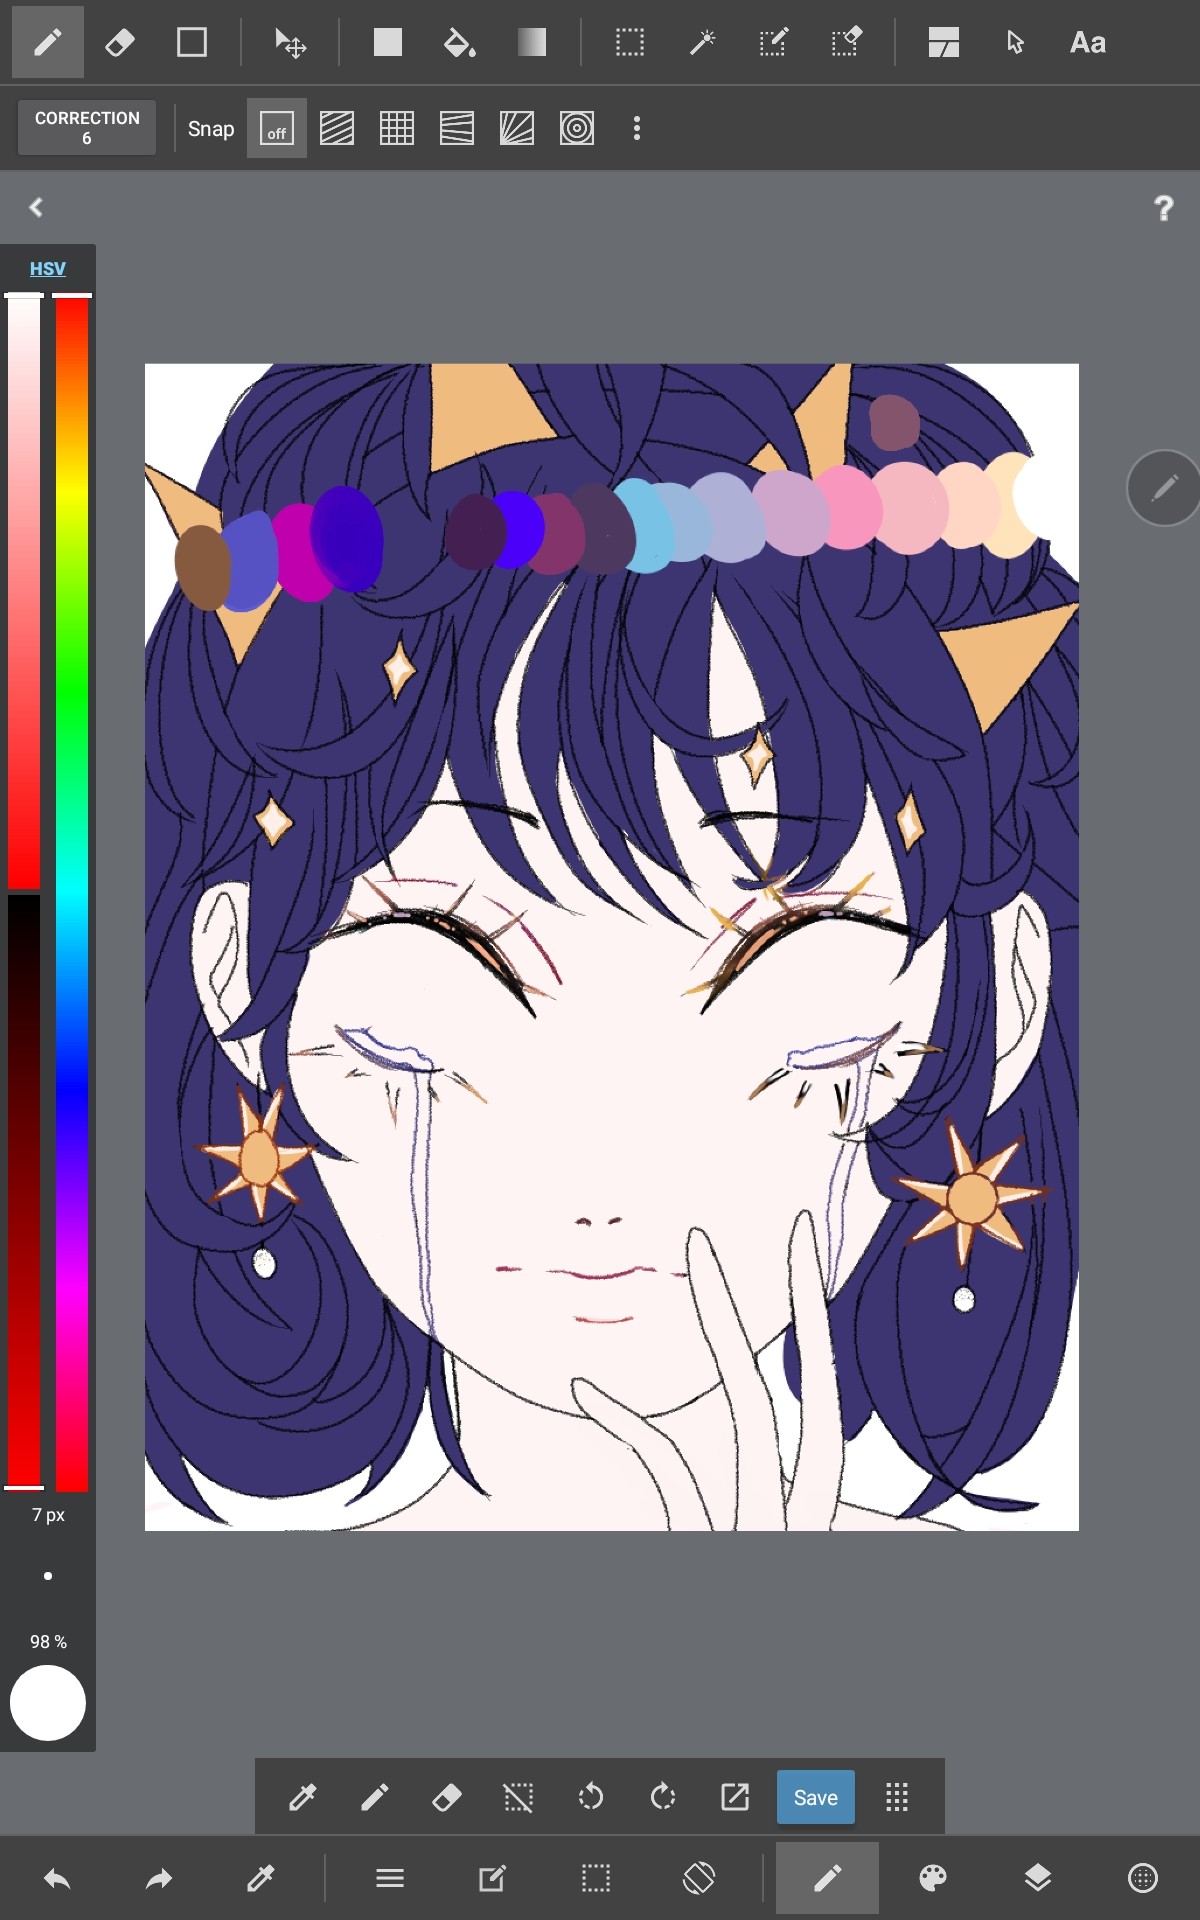
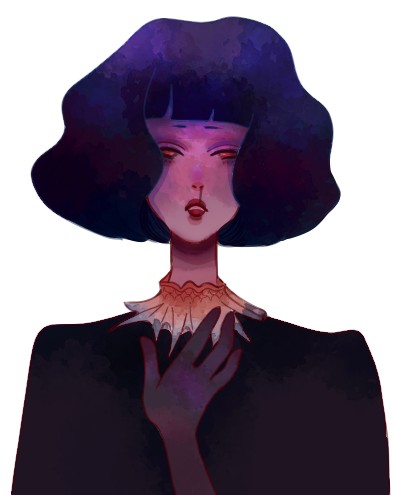
Finished drawing but without stars-
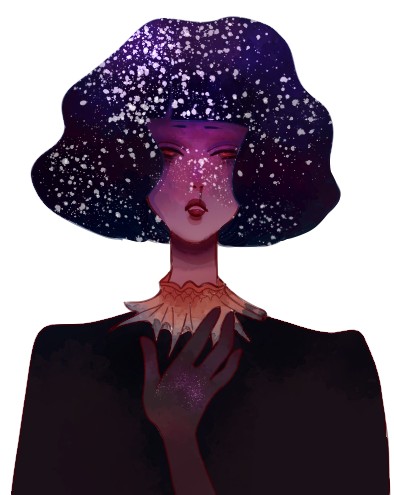
My finished drawing-
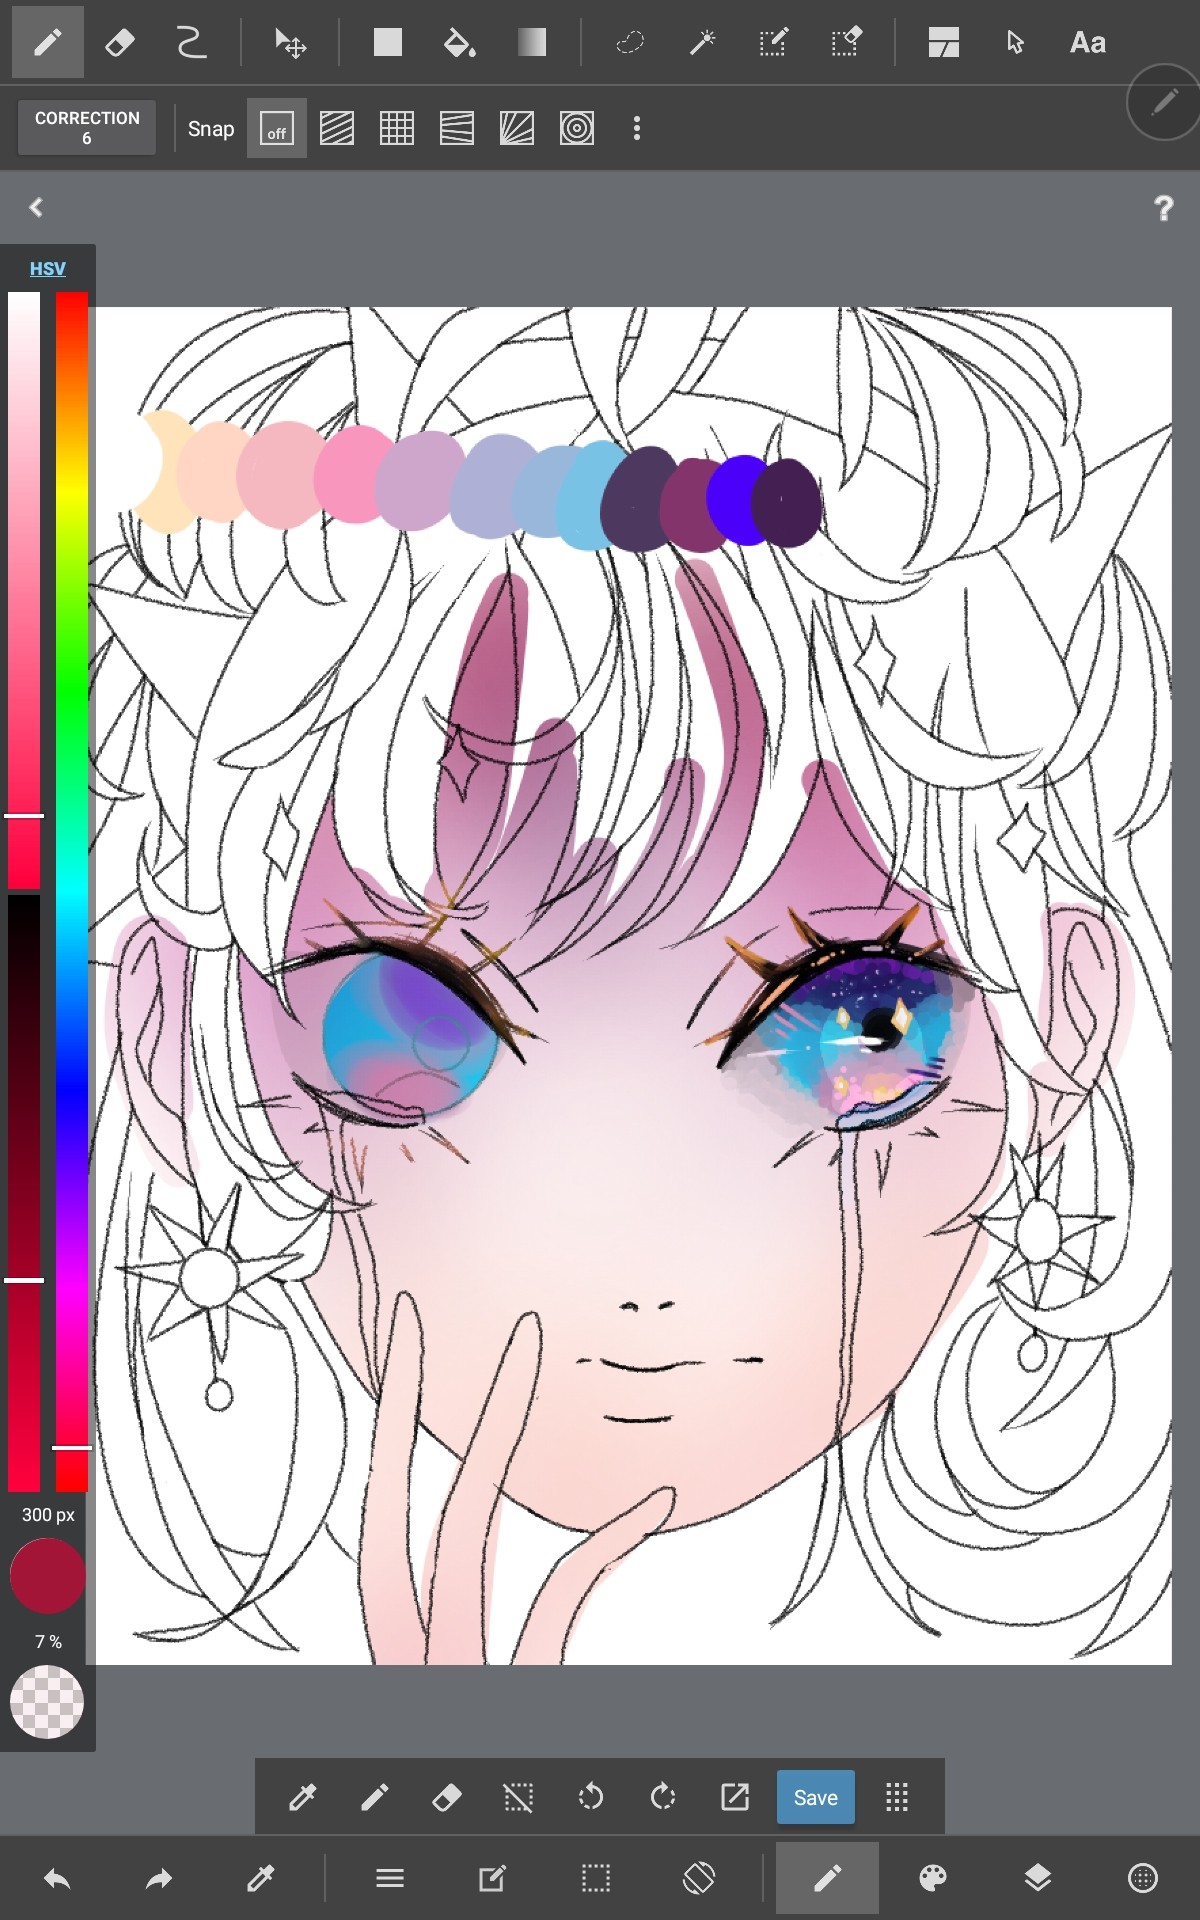
7. Now, I'll add some shine to the hair. Make another layer above your previous clipped layer, this time set it to overlay. Using the fluffy watercolor brush again, add some light around the top of your head.
Also, you might have noticed I changed the color of the hair line art to blue! If you want to change the color of your line art just select "protect alpha" and change it to the color you want it to be.

6. Now, onto the hair! Make a layer above your hair base color layer, clip it and set it to multiply. Use the fluffy watercolor brush and add different hues to the hair. Since I'm painting dark hair, I used colors like purple, blue, and pink.